Change product template
This guide describes how to assign one of Mind's product page layouts to a product.
Mind includes four product templates. Three use the Main product section with its buy-box blocks, and one replaces it with the Service detail section for classes and sessions that are booked through a link.
| Template | Main section and media | Sections below |
|---|---|---|
| product (default) | Main product, Grid media on the left, with a Variant picker, Buy buttons, Videos and four Collapse rows | Image gallery, Video, Combo bundle, Related products |
| product.product-2 | Main product, Carousel vertical media on the right, pinned while the details scroll | Collapsible content, Gallery showcase, Video, Related products |
| product.service-detail-1 | Main product, Grid media on the left, with a short buy box (title, price, description, Buy buttons) | Image gallery, Video, Related products |
| product.service-detail-2 | Service detail: the product title, a description, a button, a teacher card and a timetable | Image gallery, Section, Video, Testimonial with image, Related products (opens with an Image banner) |
Assign a template to a product
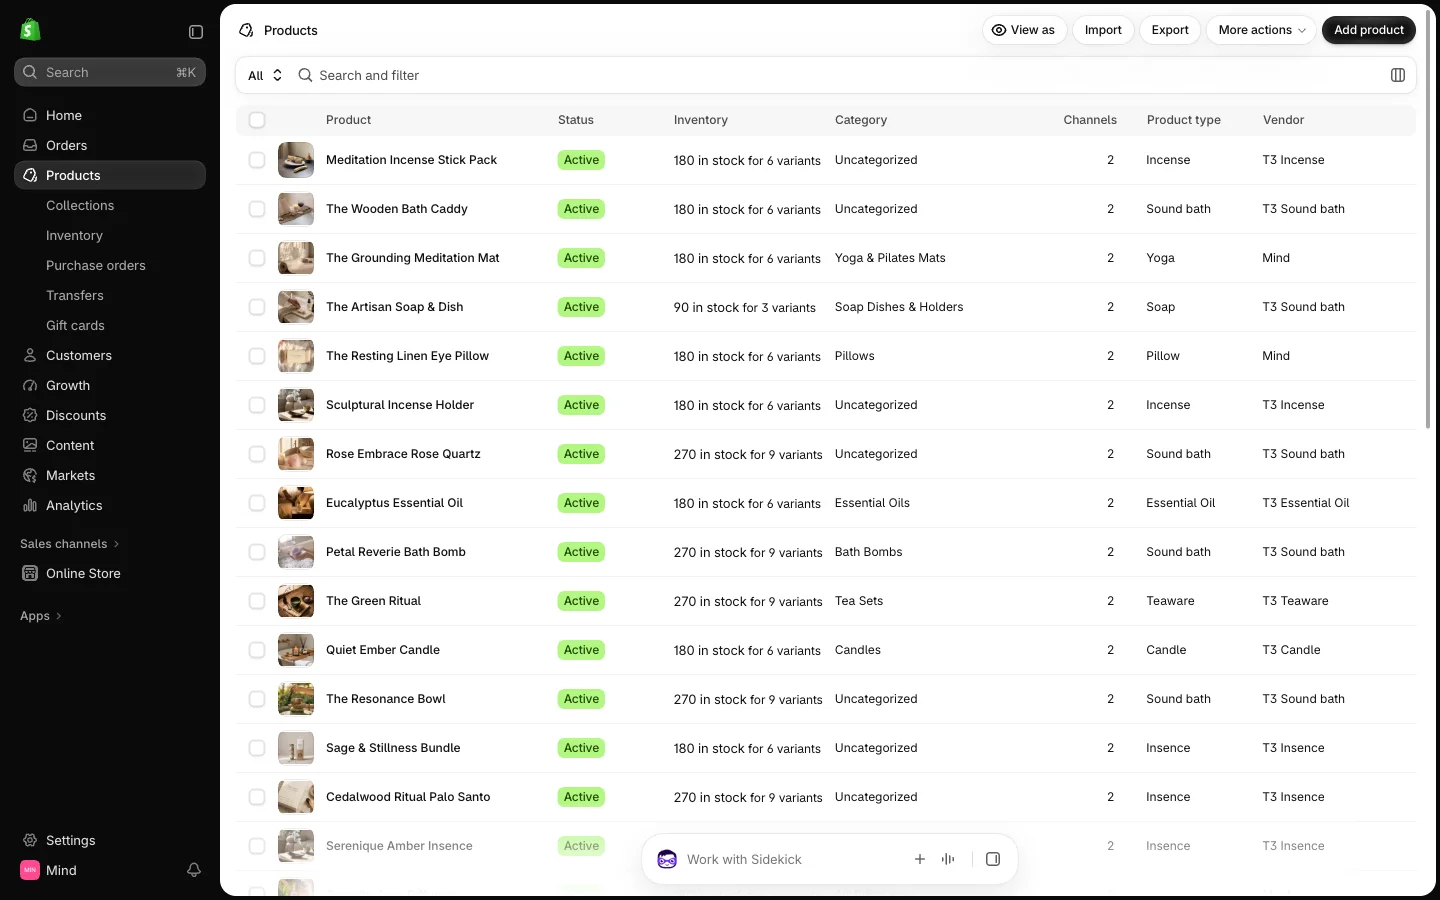
- On your store's Shopify admin page, from the left-side menu, select Products, then select the product you want to change.
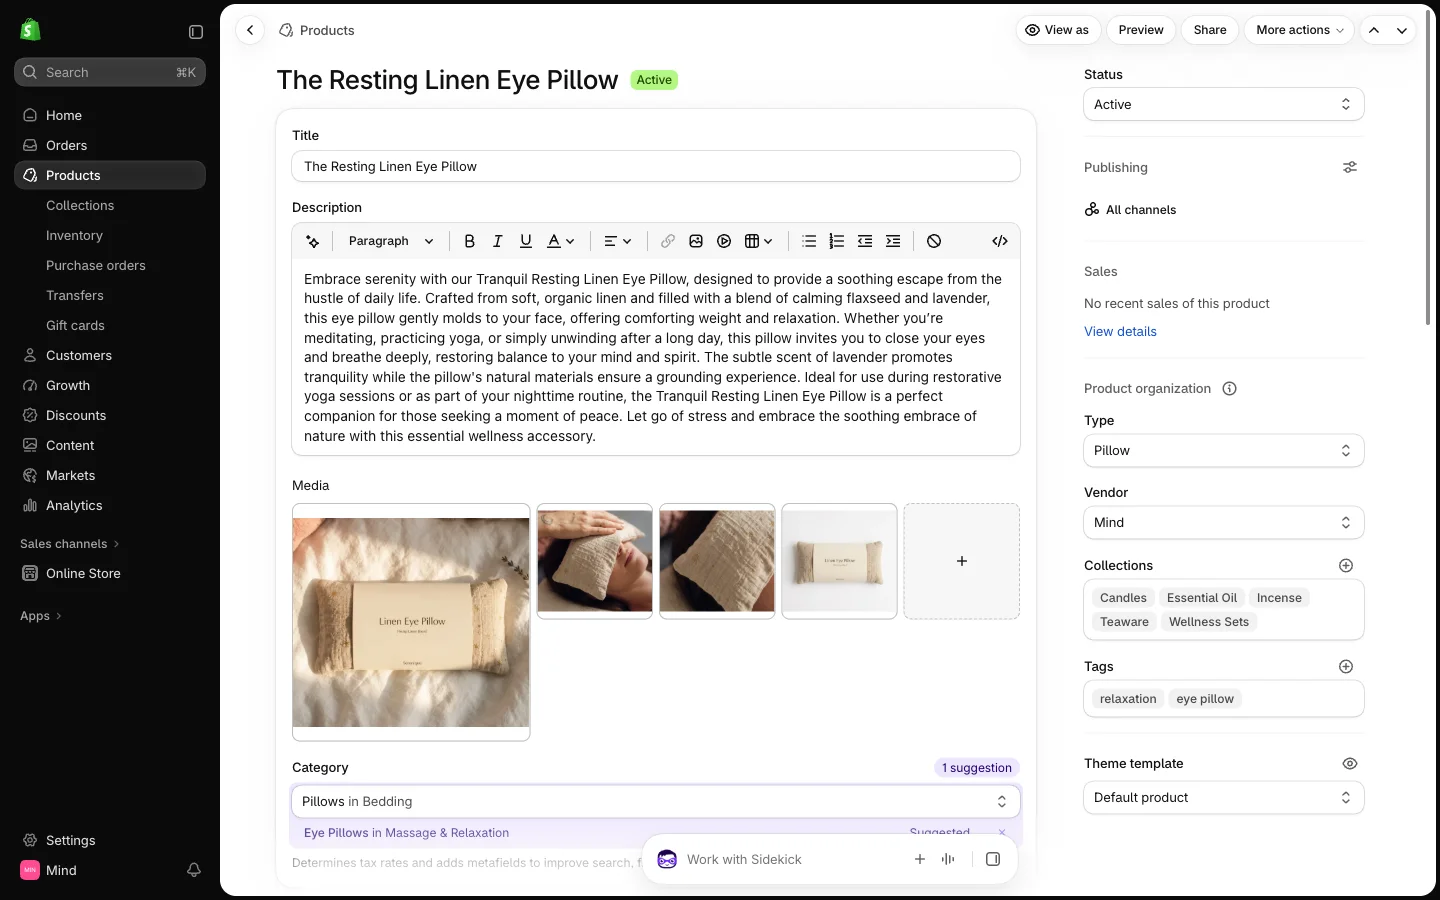
- On the product page, find the Theme template box in the right-hand column and select the template you want: Default product, product-2, service-detail-1 or service-detail-2.
- Select Save at the top of the page.
Edit the layout
- Open the Theme editor (Sales channels > Online store > Themes > Customize).
- From the page selector at the top, select Products and the template you assigned.
- Select the Main product section in the sidebar to edit its settings:
- Media type: Carousel horizontal, Carousel vertical, Grid or Stack, with Media columns (1 or 2 columns) for the grid.
- Media position (Left or Right), Thumbnail position (Inside main media or Below main media) and Gap.
- Enable sticky cart and Sticky cart type: show a sticky add-to-cart bar, as Quick add or Standard add.
- Select the Media block to set Media sticky, Hide other variants' media after selecting a variant and Enable image zoom. Select any other block to edit the buy box, or add blocks such as Variant picker, Inventory status, Countdown timer or Line item property.
- Select Save.
The product-2 and service-detail-1 templates ship without a Variant picker block. If you assign them to a product with several variants, add a Variant picker block to the Main product section so customers can choose an option.
The service-detail-2 template has no Main product section, so it has no add-to-cart button. Its button opens the Link you set in the Service detail section (for example a booking page), and the Timetable day and Text blocks hold the schedule and details. Use it for classes and sessions you book outside the cart, and the other templates for anything customers buy directly.
To change the template for many products at once, select them in the product list, select ... > Edit products (bulk editor) and add the Theme template column. Section-by-section details are on the Product sections and Service sections pages.